 Figure: Simple EMC2 Controlled Machine
The Enhanced Machine Control
The focus of this manual is on using EMC. It is intended to be used once EMC is installed and configured. For standard installations see the Getting Started Guide for step by step instructions to get you up and going. For detailed information on installation and configuration of EMC see the Integrator Manual.
The Enhanced Machine Controller (EMC2) is a lot more than just another CNC mill program. It can control machine tools, robots, or other automated devices. It can control servo motors, stepper motors, relays, and other devices related to machine tools.
There are four main components to the EMC2 software: a motion controller, a discrete I/O controller, a task executor which coordinates them, and user interfaces. In addition there is a layer called HAL (Hardware Abstraction Layer) which allows configuration of EMC2 without the need of recompiling.
Figure [.] shows a simple block diagram showing what a typical 3-axis EMC2 system might look like. This diagram shows a stepper motor system. The PC, running Linux as its operating system, is actually controlling the stepper motor drives by sending signals through the printer port. These signals (pulses) make the stepper drives move the stepper motors. The EMC2 can also run servo motors via servo interface cards or by using an extended parallel port to connect with external control boards. As we examine each of the components that make up an EMC2 system we will remind the reader of this typical machine.
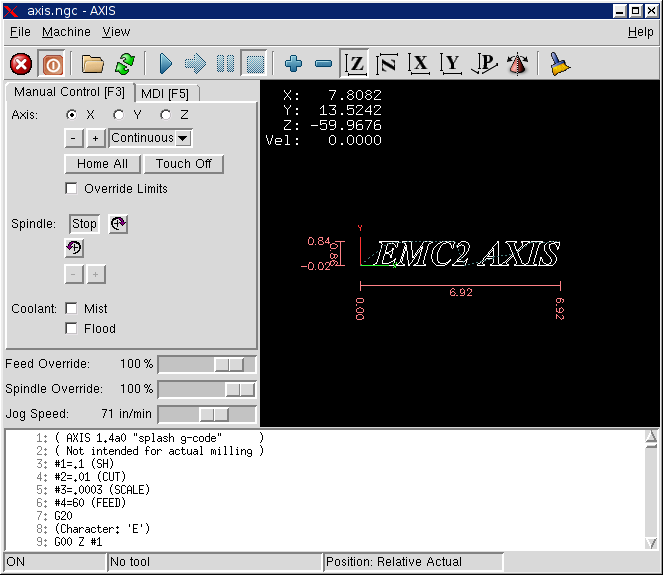
A graphical interface is the part of the EMC2 that the machine tool operator interacts with. The EMC2 comes with several types of user interfaces:
This book will not even pretend that it can teach you to run a mill or a lathe. Becoming a machinist takes time and hard work. An author once said, “We learn from experience, if at all.” Broken tools, gouged vices, and scars are the evidence of lessons taught. Good part finish, close tolerances, and careful work are the evidence of lessons learned. No machine, no computer program, can take the place of human experience.
As you begin to work with the EMC2 program, you will need to place yourself in the position of operator. You need to think of yourself in the role of the one in charge of a machine. It is a machine that is either waiting for your command or executing the command that you have just given it. Throughout these pages we will give information that will help you become a good operator of the EMC2 mill. You will need some information right up front here so that the following pages will make sense to you.
When an EMC2 is running, there are three different major modes used for inputting commands. These are Manual, Auto, and MDI. Changing from one mode to another makes a big difference in the way that the EMC2 behaves. There are specific things that can be done in one mode that can not be done in another. An operator can home an axis in manual mode but not in auto or MDI modes. An operator can cause the machine to execute a whole file full of G-codes in the auto mode but not in manual or MDI.
In manual mode, each command is entered separately. In human terms a manual command might be “turn on coolant” or “jog X at 25 inches per minute.” These are roughly equivalent to flipping a switch or turning the hand wheel for an axis. These commands are normally handled on one of the graphical interfaces by pressing a button with the mouse or holding down a key on the keyboard. In auto mode, a similar button or key press might be used to load or start the running of a whole program of G-code that is stored in a file. In the MDI mode the operator might type in a block of code and tell the machine to execute it by pressing the <return> or <enter> key on the keyboard.
Some motion control commands are available and will cause the same changes in motion in all modes. These include abort, estop, and feed rate override. Commands like these should be self explanatory.
The AXIS user interface removes some of the distinctions between Auto and the other modes by making Auto-commands available at most times. It also blurs the distinction between Manual and MDI because some Manual commands like Touch Off are actually implemented by sending MDI commands.